Agents & permissions
Create agent accounts and grant each one exactly the abilities they need.
Overview
Agents are the team members who work the inbox. The workspace Admin creates them on the Team page and chooses each agent's permissions. New agents can already reply, accept, and resolve conversations — everything else is off until you turn it on, so people only get the powers they need.
Create an agent
-
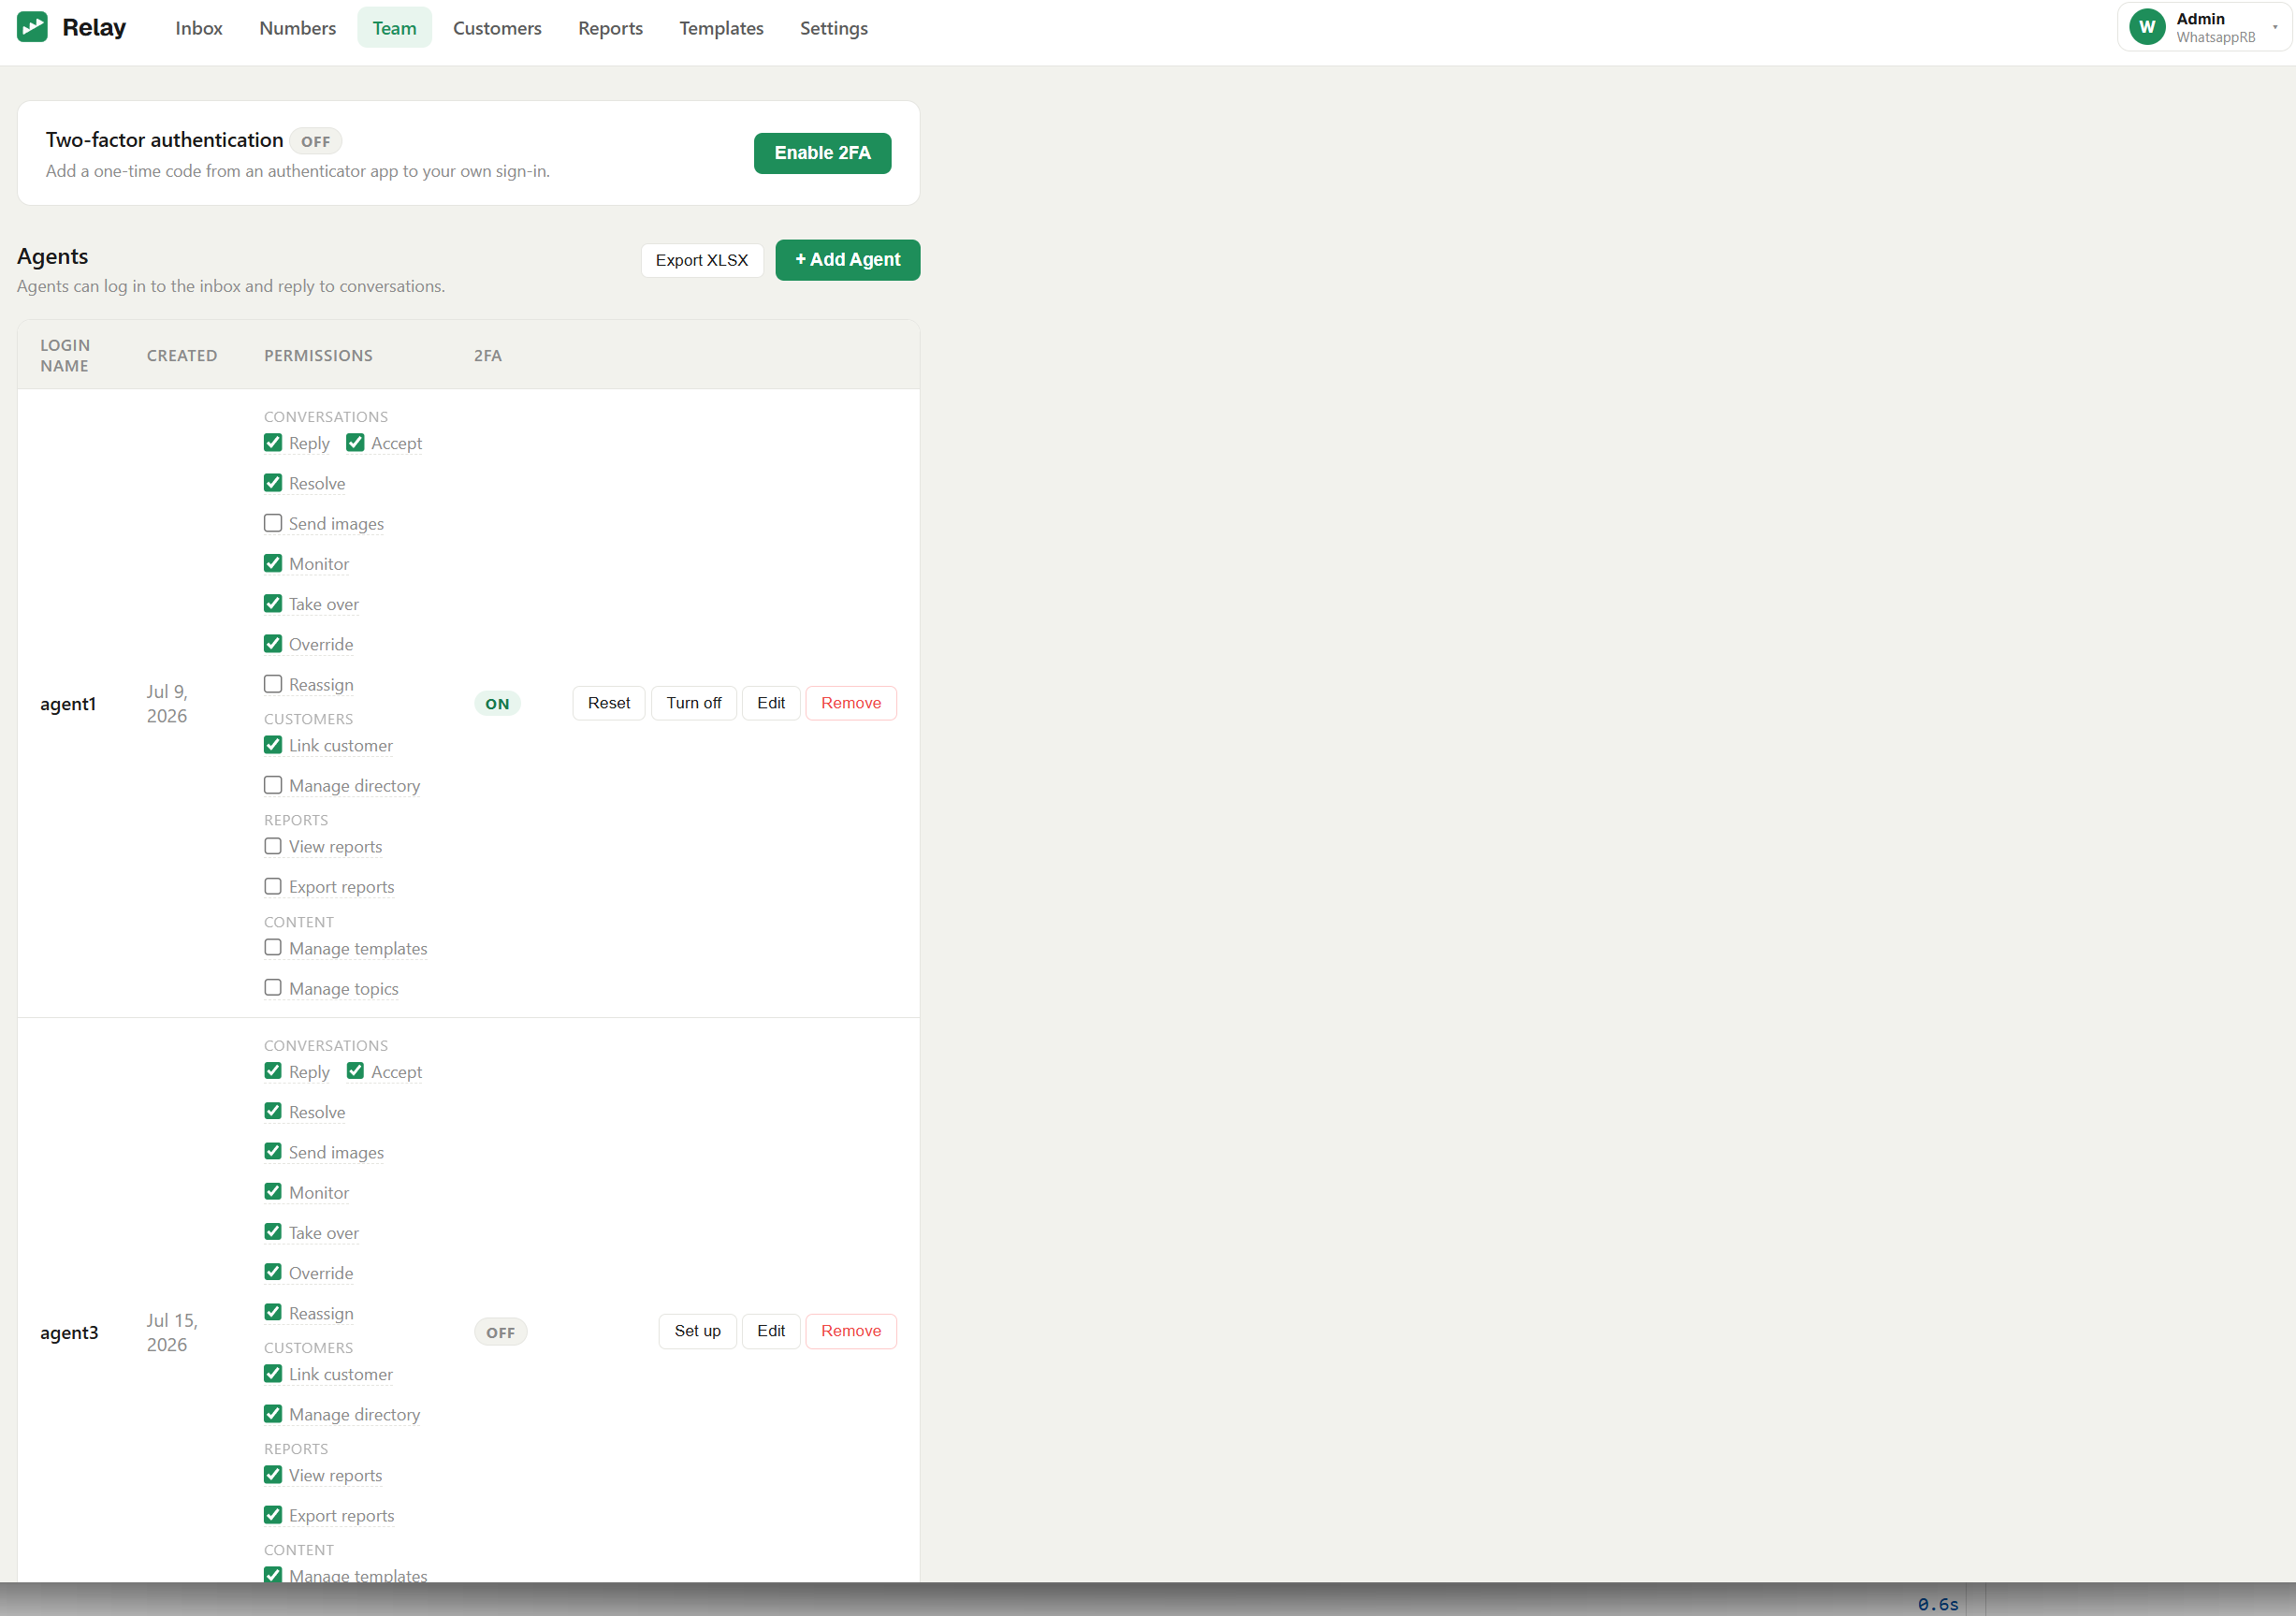
Open Team. In the top navigation, click Team.
-
Add an agent. Click + Add Agent, enter a Username and a password (at least 8 characters), and click Create Agent.
-
Set permissions. Tick the capabilities this agent should have (see the table below), then share their username and password. They sign in at
/login.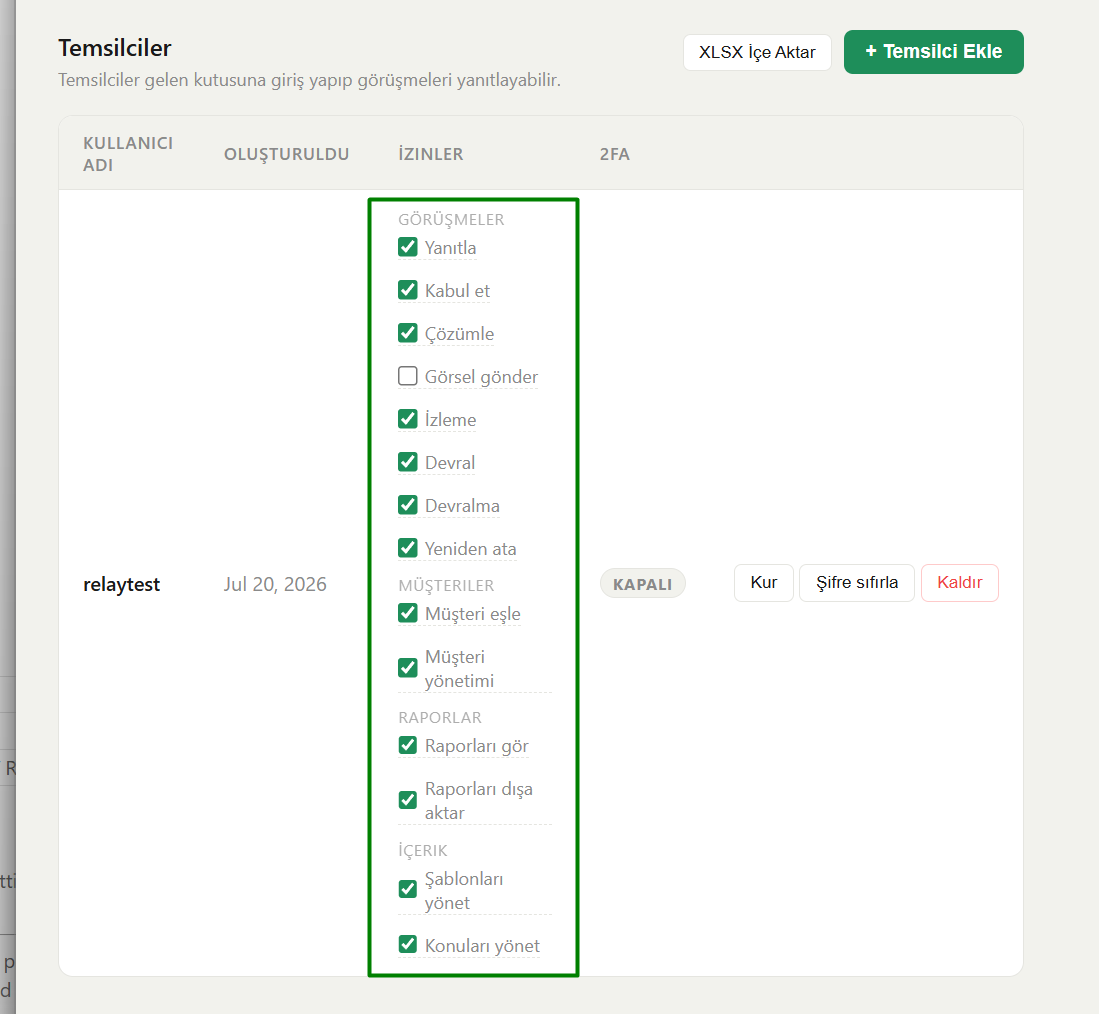
The permissions
Permissions are grouped into five sections. Reply, Accept, and Resolve are on by default for every new agent; the rest are off until granted. The Admin always has all of them.
| Group | Permission | What it lets the agent do |
|---|---|---|
| Conversations | Reply (default on) | Send replies in conversations |
| Accept (default on) | Pick up pool conversations by replying | |
| Resolve (default on) | Resolve and re-open conversations | |
| Send images | Attach and send images in replies | |
| Monitor | See conversations assigned to other agents | |
| Take over | Reply in another agent's conversation | |
| Override | Act on conversations owned by other agents | |
| Reassign | Assign a conversation to another agent | |
| Start chat | Open a new outbound conversation from the customer directory. With a customer who already has a conversation, the reply rules apply: it also needs Reply, plus Take over to write into a colleague's conversation, or Accept to take one from the queue or reopen a resolved one | |
| See all chats | See and search every conversation and its history, not just their own | |
| Customers | Link customer | Link a contact to a customer record |
| Manage customers | View & edit the customer directory — exposes real phone numbers | |
| Reports | View reports | Open the conversation reports page |
| Export reports | Export reports to Excel | |
| Content | Manage templates | Create and delete quick-reply templates |
| Manage topics | Create and delete conversation topics | |
| Numbers | Manage numbers | Add, scan, and reconnect WhatsApp numbers (not remove) |
| SMS | Send SMS | Send SMS to customers in the directory — the number is never shown |
Note: Manage customers reveals customers' real phone numbers. Grant it only to people you trust with that data — see Masking & privacy.
Tip: See all chats gives selected agents a workspace-wide view — they can see and search every conversation and its history, not only the ones assigned to them (handy for a small shared desk where everyone helps with everything). Masking still holds: aliases and customer names only, never phone numbers. It's off by default, and the shared queue works the same as usual.
See who owns a chat
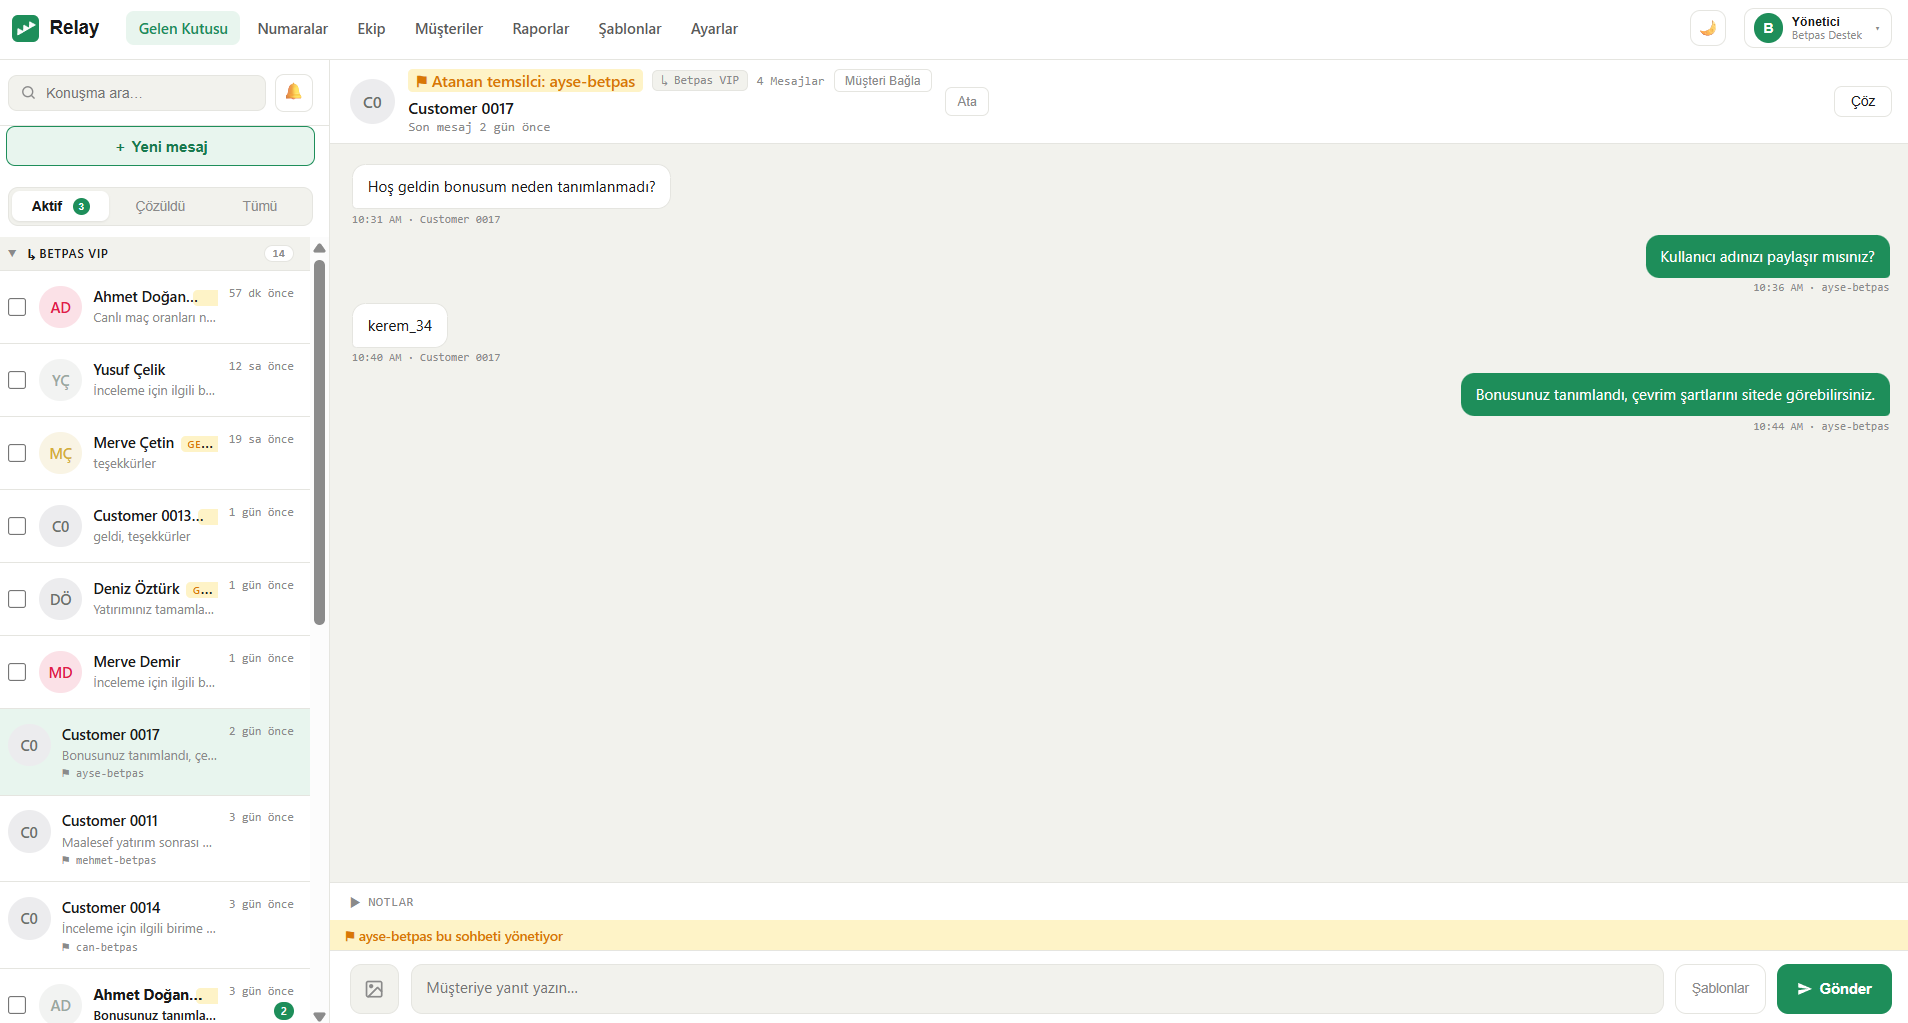
When you open a conversation that's assigned to another agent, Relay shows you whose it is — an "Assigned to …" tag on the conversation, a note above the reply box, and a marker on the list row — so two people don't answer the same customer at once. You can still reply (the chat stays with its owner); it's just no longer a silent surprise.
Manage an existing agent
On the Team page, each agent row lets you:
- Change permissions — tick or untick capabilities at any time.
- Reset password — set a new password (min 8 characters) for the agent.
- Two-factor authentication — Set up, Reset, or Turn off an agent's 2FA; share the QR code for them to scan in an authenticator app.
- Remove — delete the agent. Their open conversations are returned to the shared queue.
Next steps
- Masking & privacy — what agents can and can't see.
- Best practices — least-privilege tips.