Installation
A guide to installing Relay on your own server with Docker Compose and completing first-time setup.
Overview
Relay ships as a Docker Compose stack — an app container (the Node.js server plus a
version-pinned Chrome per number) and an nginx container that terminates HTTPS. You run
it on a Linux server you control. This guide takes you from a bare server to a signed-in
Super-admin ready to create the first workspace.
Note: This is the detailed walk-through. The repository README has the same steps in condensed form.
Before you start
You'll need:
- A Linux server (Ubuntu 22.04 / Debian 12) on local, block-attached disk — not an
NFS/network file share, which doesn't reliably support the file locking the database
needs. Size it at 4 GB RAM base + ~2.5 GB per WhatsApp number — each number runs a
headless Chrome that is recycled at a 2.5 GB ceiling (typical use is 0.4–0.8 GB, but budget
the ceiling so a busy number can't push the box into swapping/OOM). So roughly 8 GB for
1–2 numbers, ~16 GB for 5. Plus 2 CPU cores base + 1 core per ~3–4 numbers (minimum 4
cores for 5+ numbers) and ~50 GB disk. Validate against your own
docker stats/free -honce numbers are connected and adjust. - Docker 24+ with Compose v2.
- Ports 80 and 443 open. For production, a domain name pointing at the server; for a quick test you can use the server's IP with a self-signed certificate (step 3).
- If you deploy inside a container rather than a VM (e.g. a Proxmox LXC): use a VM or a
privileged / nesting-enabled container — Docker under an unprivileged LXC needs extra
kernel-sysctl relaxations to start containers. A plain VM or cloud instance needs nothing
special. And on a freshly-imaged server, run
apt-get updatebefore installing packages.
Steps
-
Get the code and enter the folder.
bash git clone <your-relay-repo-url> relay cd relay -
Create your environment file.
bash
   cp .env.example .env
The defaults work as-is. Optionally setSESSION_SECRETto your own value (openssl rand -hex 32) to control the cookie-signing secret — if you leave the placeholder, Relay auto-generates and persists one atdata/session-secret.txt. You can also setCOMPANY_NAMEto your organisation's name (shown in your team's authenticator app). -
Add your TLS certificate. Place the certificate and key in
./ssl/:ssl/ fullchain.pem privkey.pemFor a quick test (an IP, or before DNS is ready) generate a self-signed pair — the browser will warn, which is fine for testing:bash mkdir -p ssl openssl req -x509 -newkey rsa:2048 -nodes -days 365 \ -keyout ssl/privkey.pem -out ssl/fullchain.pem -subj "/CN=localhost"For production, use a real certificate (e.g. a free Let's Encrypt cert via Certbot):bash certbot certonly --standalone -d your-domain.com cp /etc/letsencrypt/live/your-domain.com/fullchain.pem ssl/ cp /etc/letsencrypt/live/your-domain.com/privkey.pem ssl/ -
Start the stack.
bash
   docker compose up -d
The first build downloads the pinned browser, so it takes a few minutes. Check both services are up withdocker compose ps. -
Complete first-time setup. Open
https://your-domain.com/adminin a browser. On a fresh install you're taken to first-time setup — create the Super-admin username and password, then scan the TOTP QR code with an authenticator app (Google Authenticator, Authy, 1Password, …).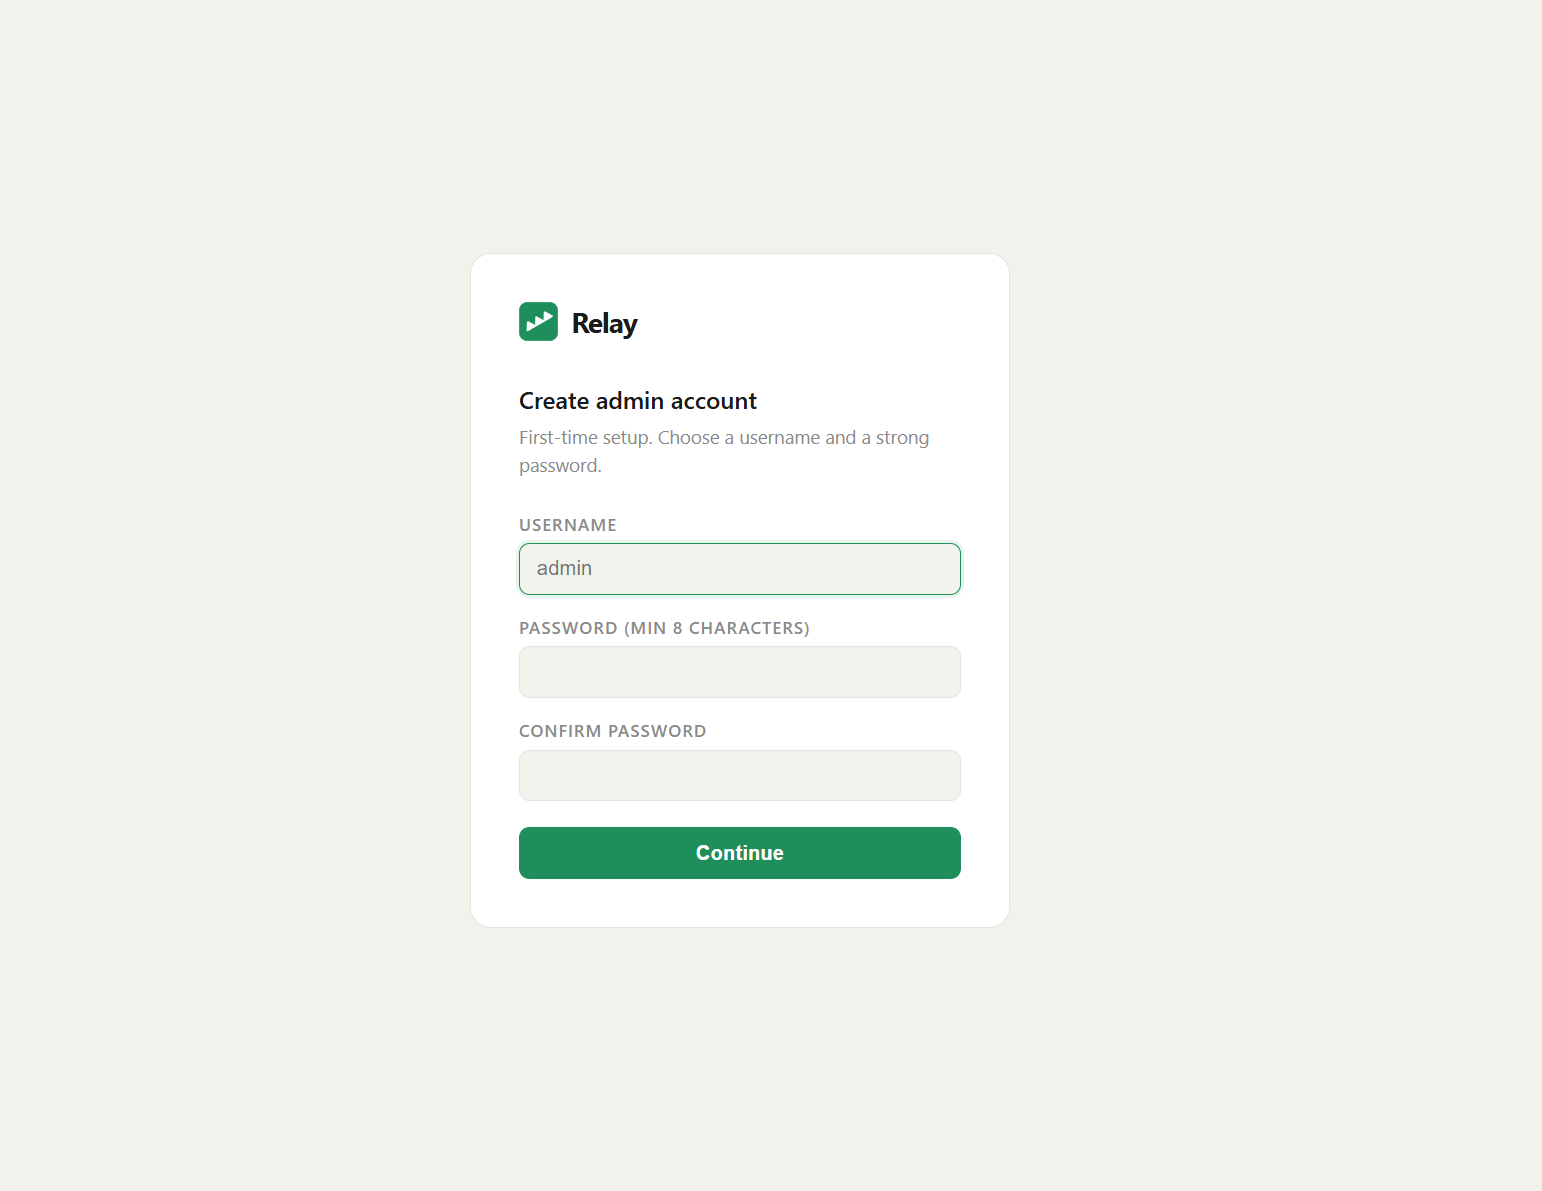
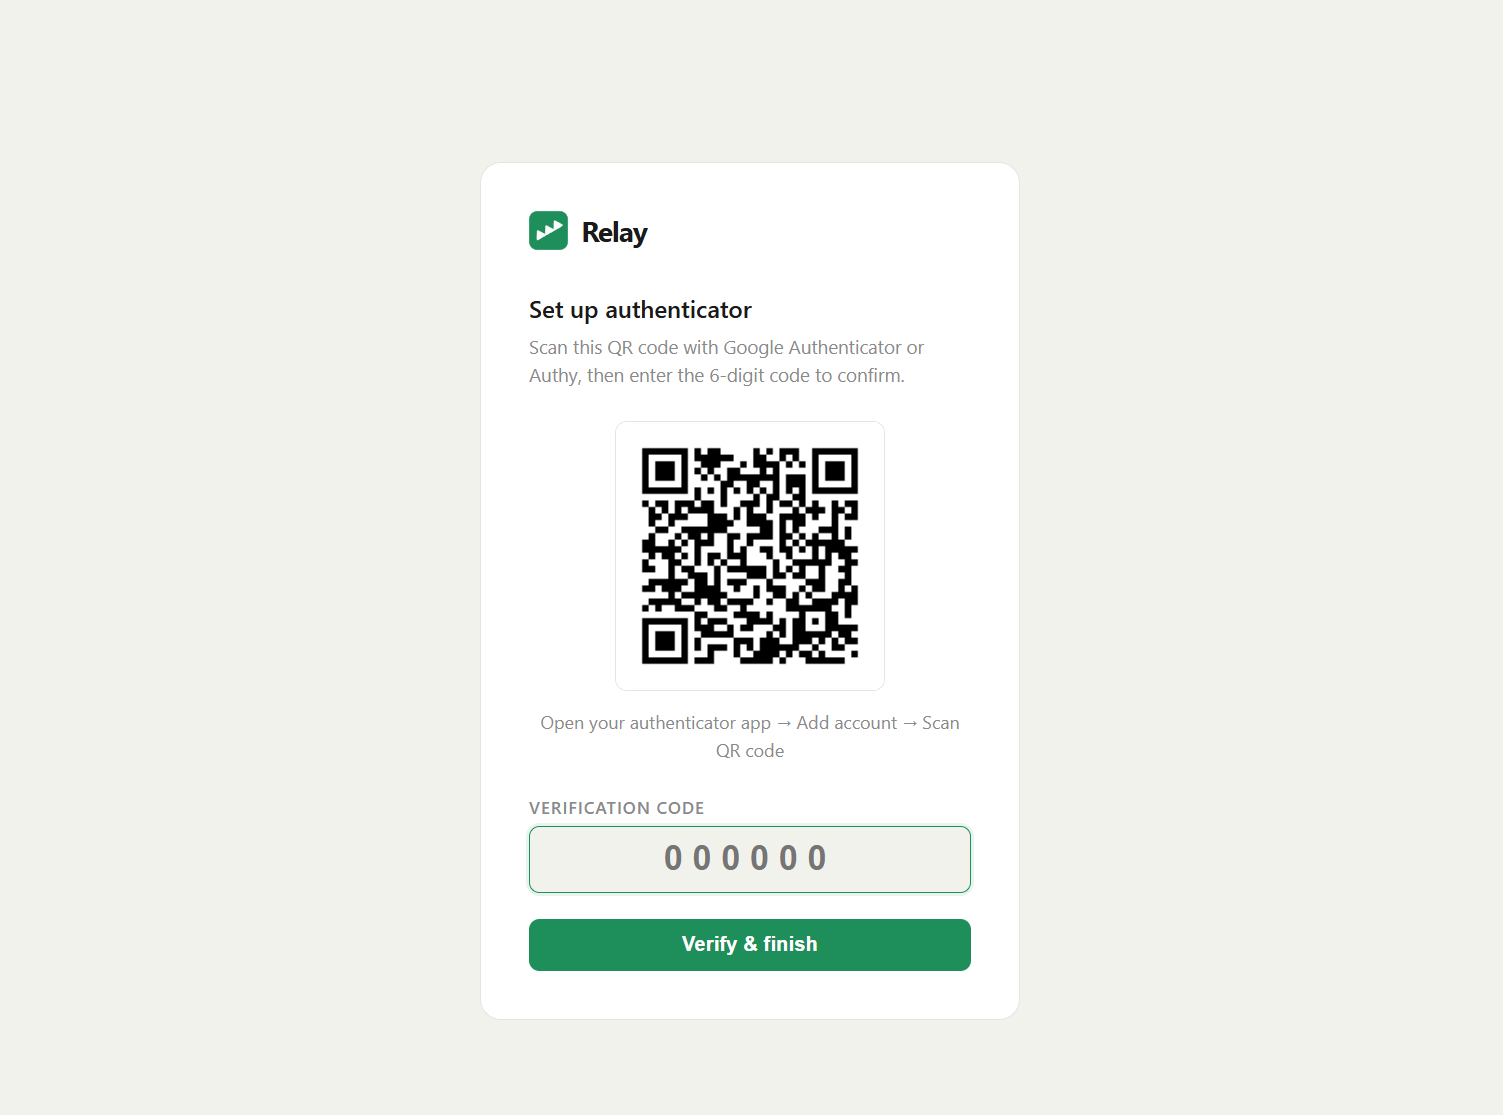
Note: Keep the authenticator safe — you'll need a fresh 6-digit code every time you sign in to the Admin panel. If you lose it, see Troubleshooting → Locked out of the admin panel.
- Confirm it's healthy.
bash
   curl -sf https://your-domain.com/healthz   # → relay-ok
Next steps
You're signed in as the Super-admin. Next, create a workspace and its Admin account. For backups and updates, see Operations.