Connect a number
A guide to linking a WhatsApp number to your workspace by scanning its QR code.
Overview
Every workspace replies to customers from one or more connected WhatsApp numbers. You connect a number by scanning a QR code with WhatsApp on the phone that owns that number — the same way WhatsApp Web / Desktop links. Once connected, messages to that number flow into the inbox's shared conversation list and replies go back out from it.
Before you start
- Have the phone that owns the number with you, with WhatsApp installed and online.
- You must be signed in as the workspace Admin, or as an agent with the Manage numbers permission. Only the Admin can remove a number.
Steps
-
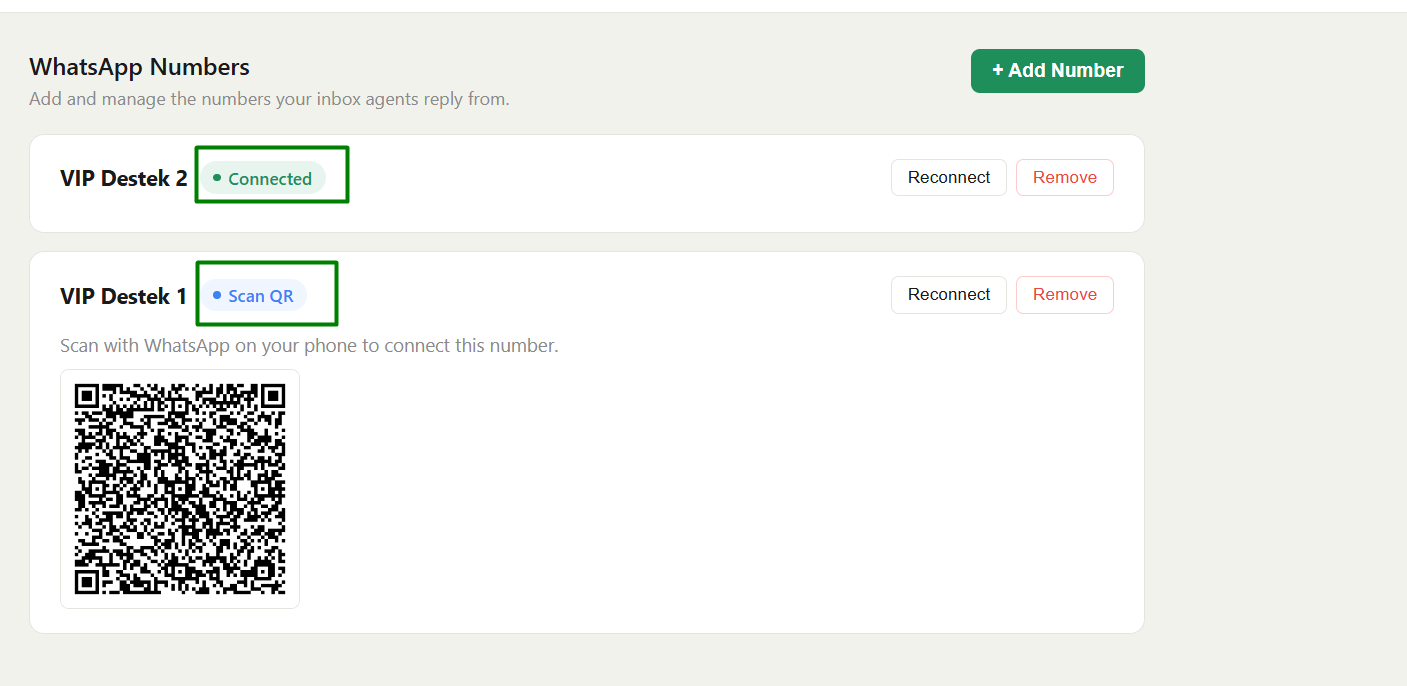
Open Numbers. In the top navigation, click Numbers.
-
Add a number. Click + Add Number, enter a Label to recognise it by (e.g.
Support Line 1), and click Add & Scan QR.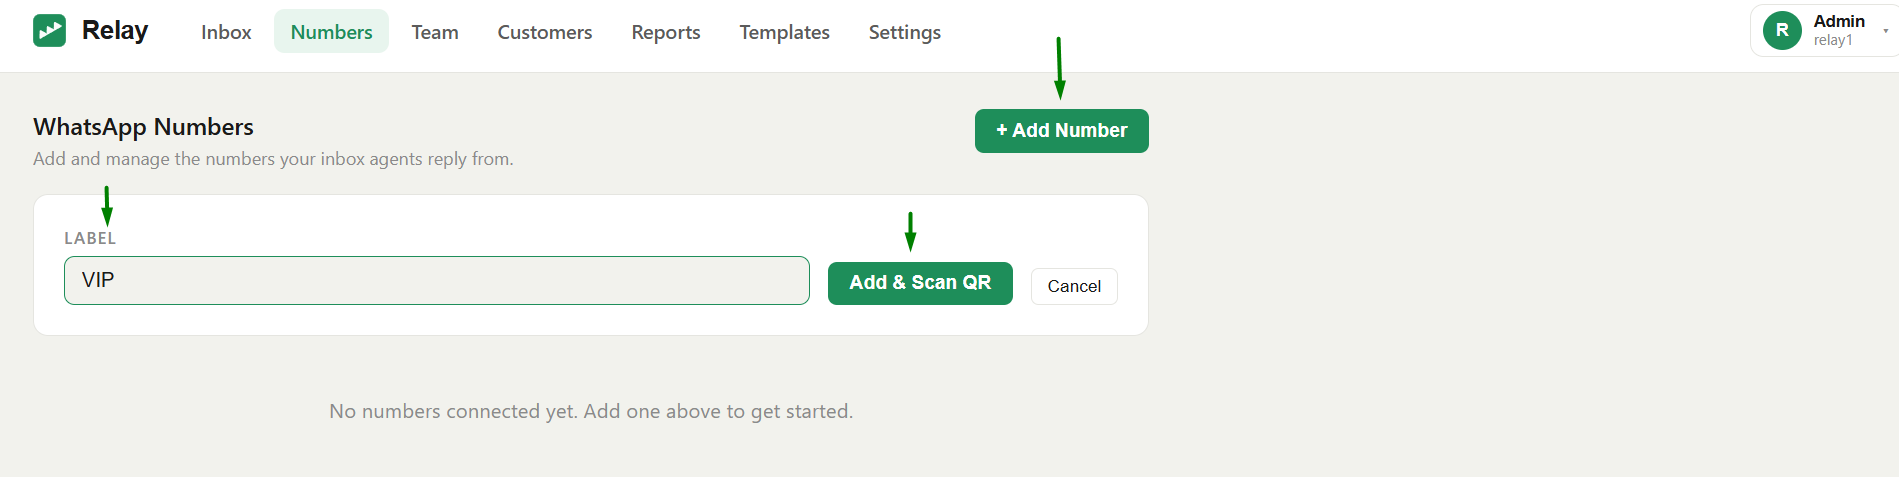
-
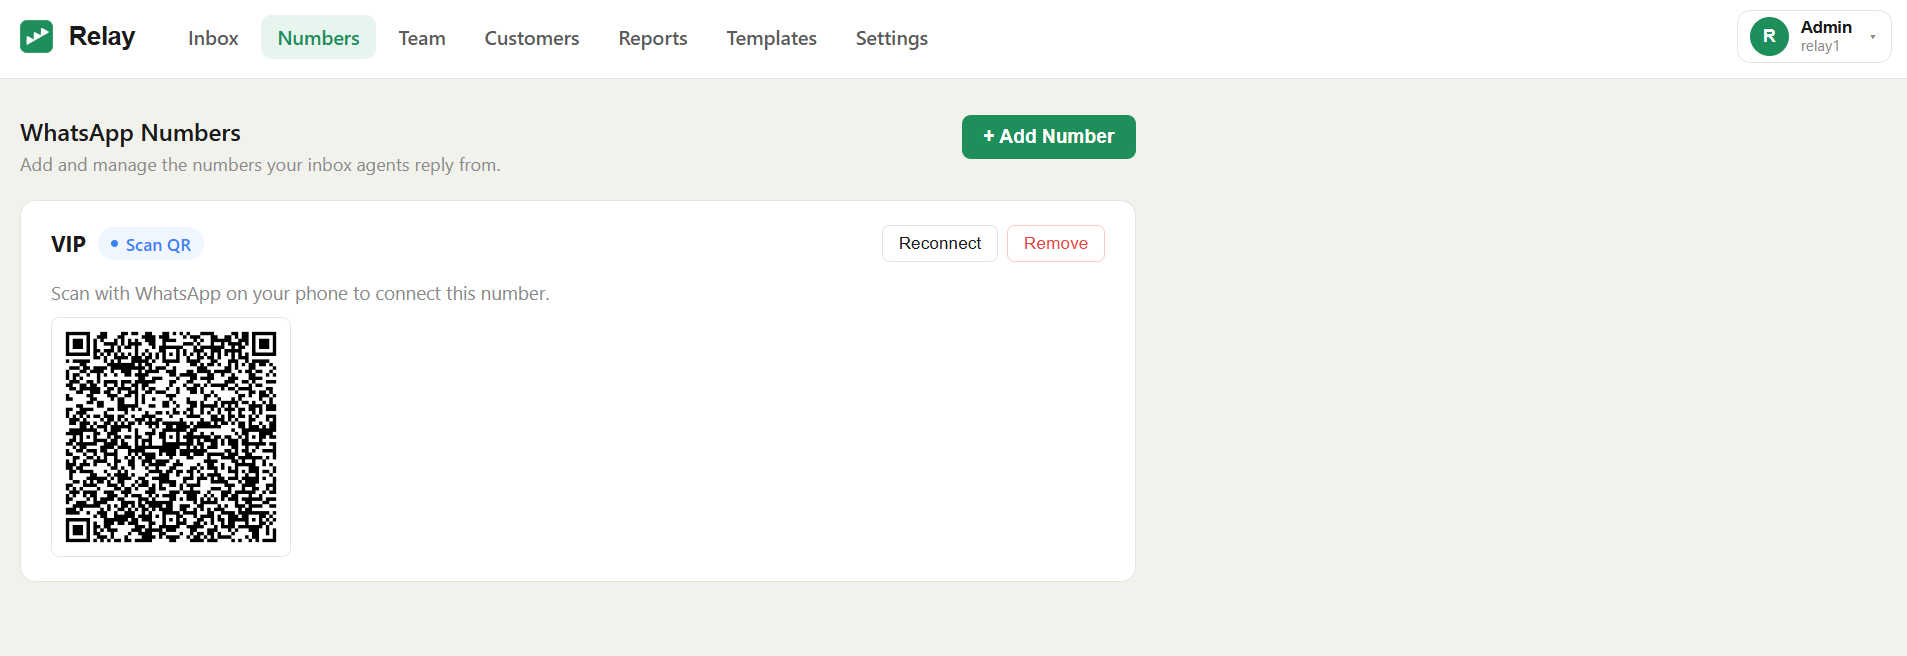
Scan the QR code. A QR code appears. On the phone, open WhatsApp → Settings → Linked devices → Link a device, and scan the code. If the code expires before you scan it, click Refresh QR for a new one.
-
Wait for it to connect. The number's status moves from Scan QR → Connecting… → Connected. That's it — the number is live.
Note: Each connected number runs its own headless browser and uses roughly 400–800 MB of memory. Size your server for the number of numbers you connect.
Managing a number
On the Numbers page, each number shows its status (Connected, Scan QR, Connecting… or Disconnected) and its actions:
- Reconnect — if a number shows Disconnected or is stuck, re-establishes the link by restoring its existing session; no new QR scan needed.
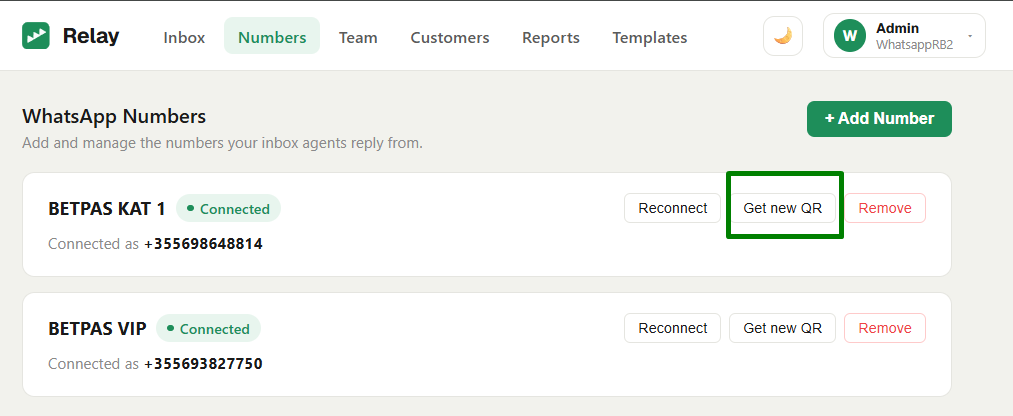
- Get new QR — if the number stays stuck or its session is gone, resets the saved session
and pairs the number from scratch: a new QR code appears for you to scan on the phone. The
number keeps its slot, so past conversations and customer pins are kept. Use it when
Reconnect doesn't help.
- Remove — unlinks the number from the workspace (Admin only). Do this only when you no longer use it.
After an update or a server restart, numbers reconnect on their own in 30–60 seconds — no re-scan needed.
What removing a number affects
When you Remove a number:
- Customers pinned to it are automatically unpinned.
- Conversation history is kept. Its conversations stay in the inbox. While the list is
grouped by number, they appear under a Previous number header, and you can keep
reading them.
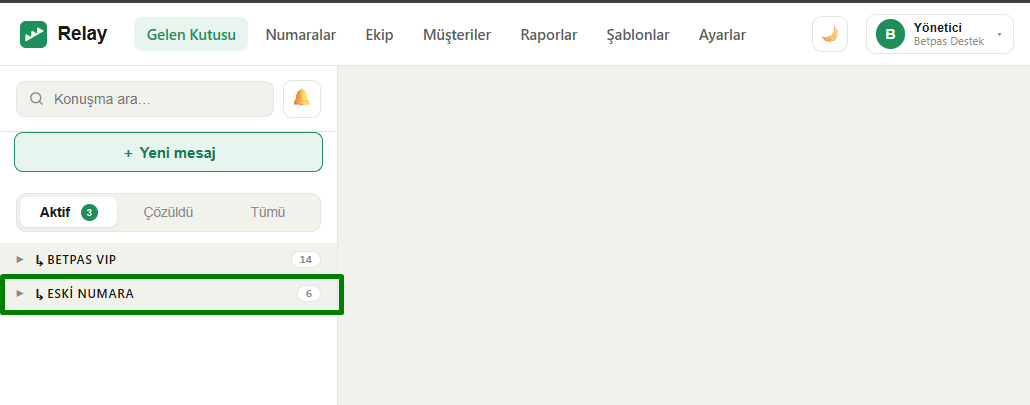
- When you reply to one of them: with one connected number in the workspace, the conversation moves to that number and the reply goes out from it. With several, Relay can't pick one for you, so the reply isn't sent: pin the customer to the number you want in the Customer directory (link the chat to the customer first if needed), or wait for the customer to write again. With none, connect a number first.
- If the customer writes again, their conversation moves to an active number on its own.
Seeing the connected number (Admin only)
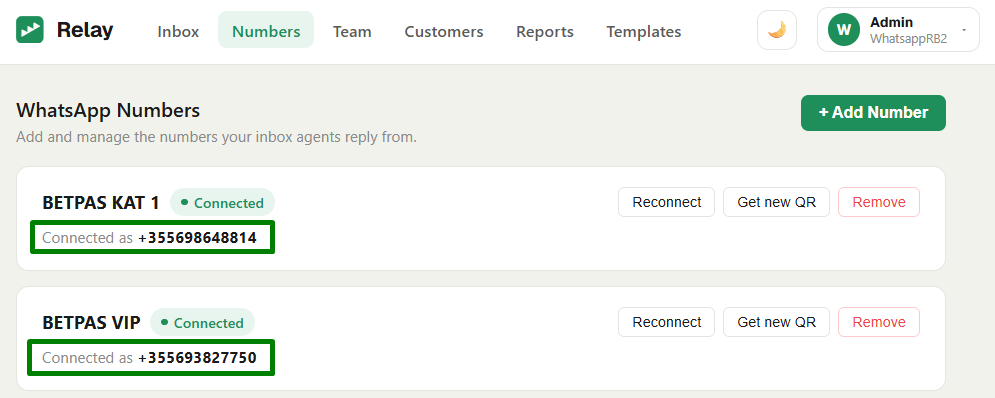
On the Numbers page, the Admin sees each connected number's actual phone number under it (Connected as +90…). Agents never see the real number — even an agent with the Manage numbers permission, who can open this page, sees only each number's label. See Masking & privacy.
Next steps
- Add your team: Agents & permissions.
- Learn the day-to-day flow: Inbox overview.
- Something not connecting? Troubleshooting.